Pretty easy day today. We are just finishing up the Obituary and doing the Obituary Timeline.
When doing the Tagexdo, make sure that you follow these instructions word for word, otherwise it you won’t be able to see the text. Also, I don’t want JUST the image – I want the FOLDABLE.
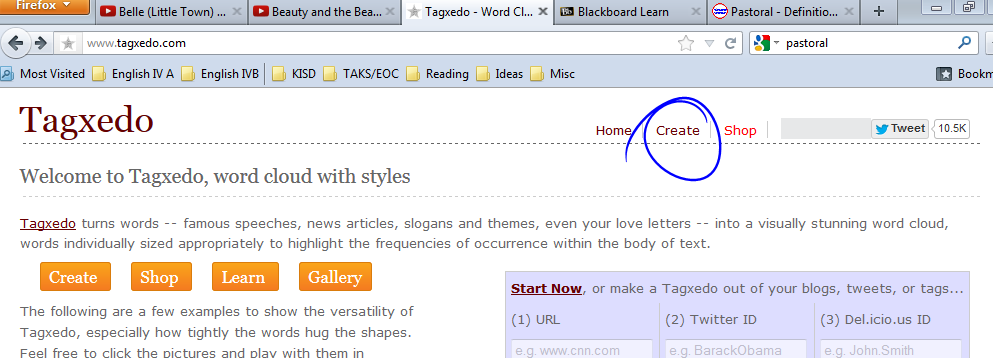
First, go to Tagxedo and click create.
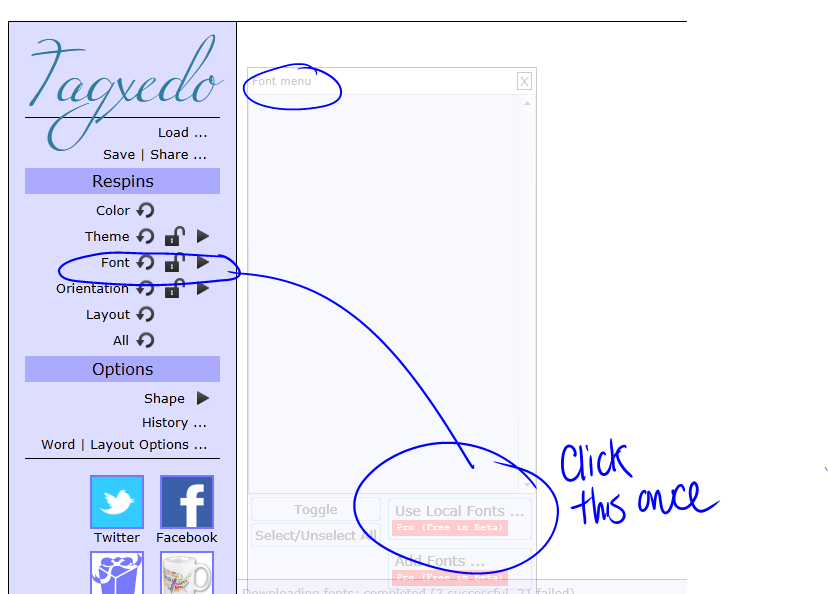
 Before you do anything else, click Fonts.
 From Fonts, Click USE LOCAL FONTS.
 It should look something like this if you have done it correctly:
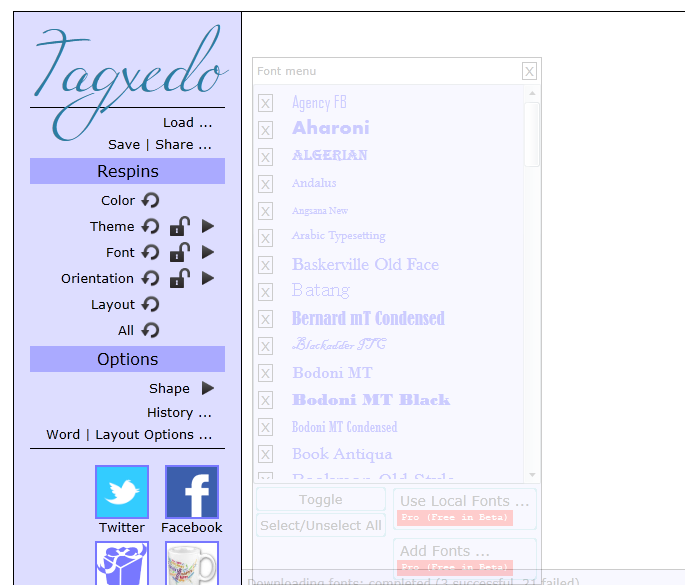 Exit out by hitting the X in the top right hand corner. You are now ready to add text.
Add text by hitting LOAD and then copying and pasting your ENTIRE obituary in the “Enter Text” location.
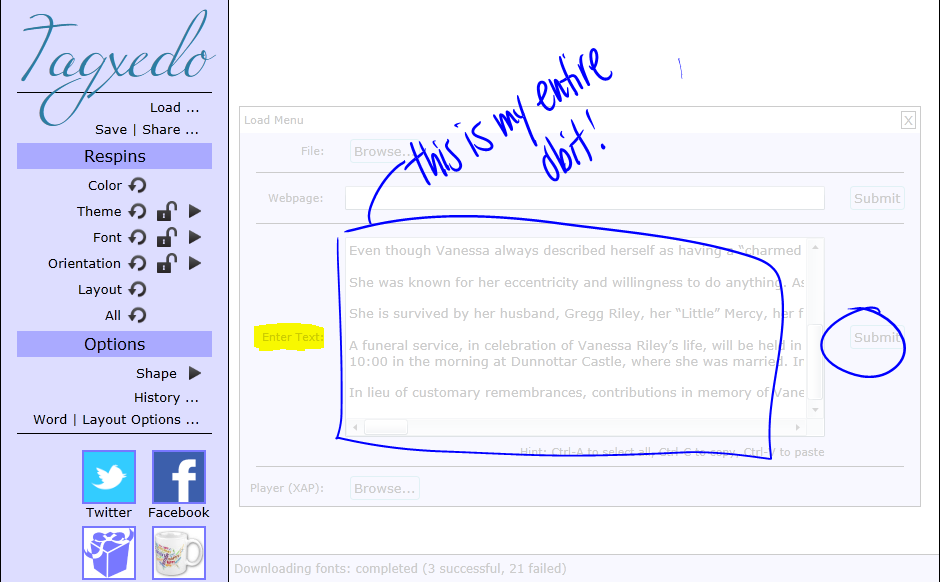 It will look really short. As long as you copied/pasted your entire text, it will be there. It’s just spread out horizontally. Make sure when you are done that you hit SUBMIT.
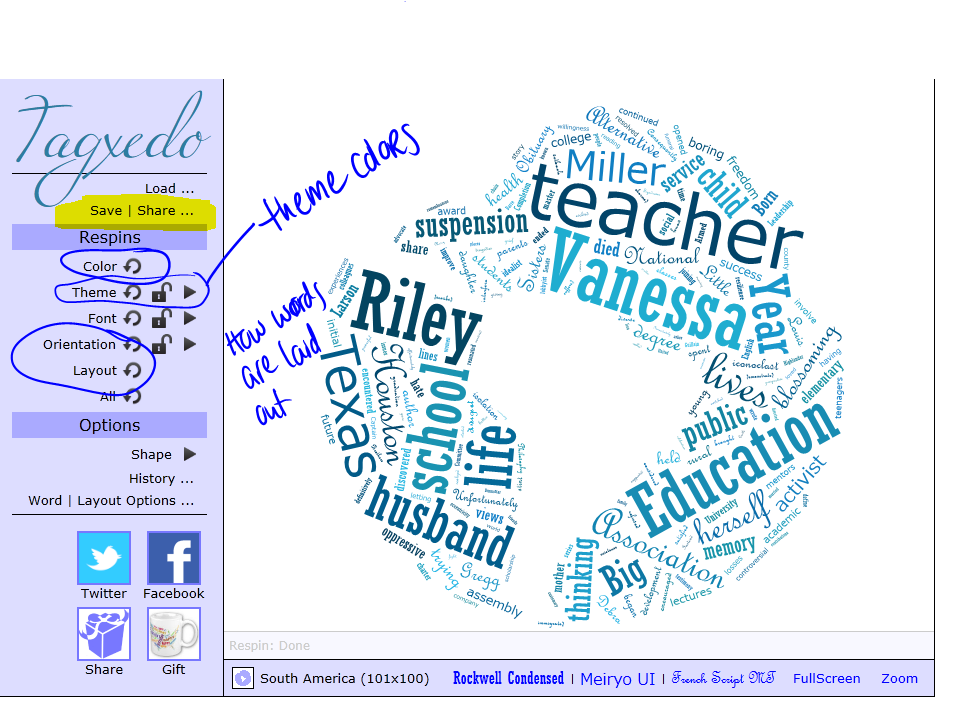 COLOR: This changes colors in your palette. If you don’t want all BLUES, then you’ll need to click on THEME.
THEME: This changes the theme of your colors. If you want, you can even create your own theme.
FONT: You can respin your fonts to find fonts that you like.
ORIENTATION and LAYOUT: This changes how the words appear on your word cloud.
ALL: This randomized all of those options.
SHAPE: This is where you can change the shape.
So this is what I made mine to look like:

Save as a 16 MP.
Then, download the Diorama template in the Obituary folder. Put your picture in the top section, and then answer the three questions in the bottom section. Make sure your name is on it, and make it pretty.
I will print these in color for you. ![]()
This is how you cute and fold:
![20140408_091001[1]](https://vriley.edublogs.org/files/2014/04/20140408_0910011-14aixim.jpg)
